
Make Your Own Clay Christmas Diffuser Ornaments
Posted by T. Schuur | Integrative Health Practitioner | Aromatherapist | Herbalist | Botanical Chemistry & Formulation on 10th Dec 2020
On a Christmas note, when do you put up your tree? Is it real or artificial? If it’s artificial, did you know it’s a simple fix to make mini-clay diffuser and create a gorgeous Christmas Tree blend to bring back the nostalgic scent of fresh cut spruce of pine? To dream up your very one-of-a-kind Christmas Blend, message us at HgH - if you can dream it we can create it! 
Creating your own clay ornament diffusers is a simple fun craft that the whole family can take part in!
Roll out the clay
- It’s best to work on a hard, smooth surface. I lined the rolling area with parchment/baking paper because found that the clay was easier to lift from the paper, but that isn’t absolutely necessary.
- Take a chunk of modelling clay and knead it for a minute to warm it up.
- Place the clay on the work surface and begin to roll. Start rolling from the centre going outwards until the clay is approximately in 1/8 in/ 0.3 cm to 1/4 in/ 0.5 cm thick.

You can even use simple everyday items from home to emboss the clay before cutting out your shapes!
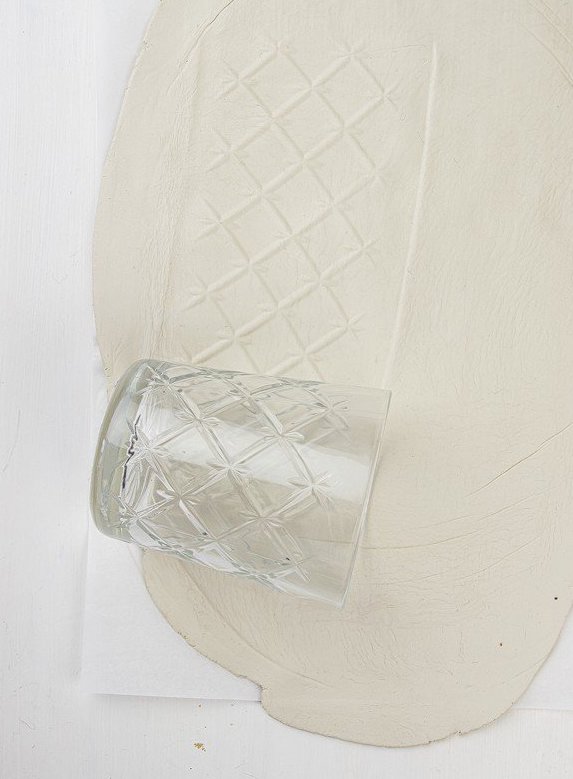
Now select your cookie cutter shapes, or if you're creative try to create a freehand design!

To dress it up a bit, try sprinkle glitter atop the clay and "rolling" it in before cutting out your shapes! This adds a delightful shimmer!
Once you've cut out your shapes:
- Gently pull off the clay around the Christmas ornaments.
- Using a drinking straw, make a hole in the top of each ornament.
- Smooth the edges with your fingers.
TIP: To smooth out any edges, dip your finger in the jar of water and gently massage any rough edges away.
Now to Fancy it Up!
You have as many options as you have ideas!
- Use a soap stamp to emboss or embed a design! (Yellowbee has a great selection)
- Add a sprig of spruce or pine. Embed it into the wet clay and allow the clay to harden. Alternately, a hot glue gun works wonders!
- Paint your embossed or embedded designs! (Leave some clay unpainted so the oil can be absorbed by it)
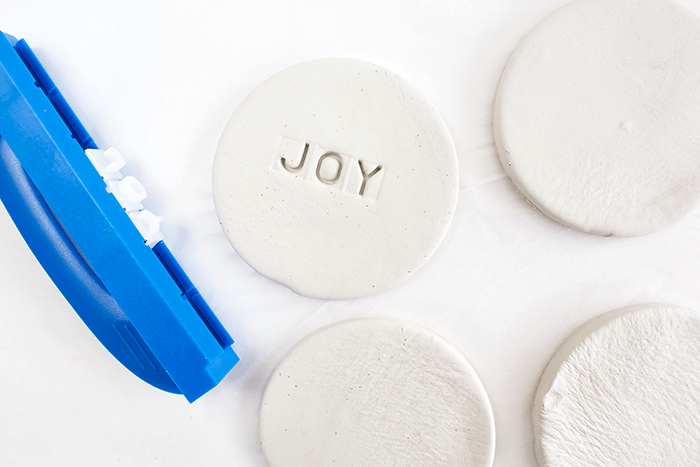
- Emboss lettering! Pick up a sandwich board and letters from your local dollar store and use the letters to spell out holiday words, says or names!
Air-dry the clay ornaments
- Pick up each ornament and place on a lined cutting board or cookie sheet/tray to dry, making sure each ornament is as flat as possible.
- Let dry for 24 hours. Turn the ornaments and let dry for another 24 hours.
- Once completely dry, tie with ribbon or twine for hanging.
Last But Not Least
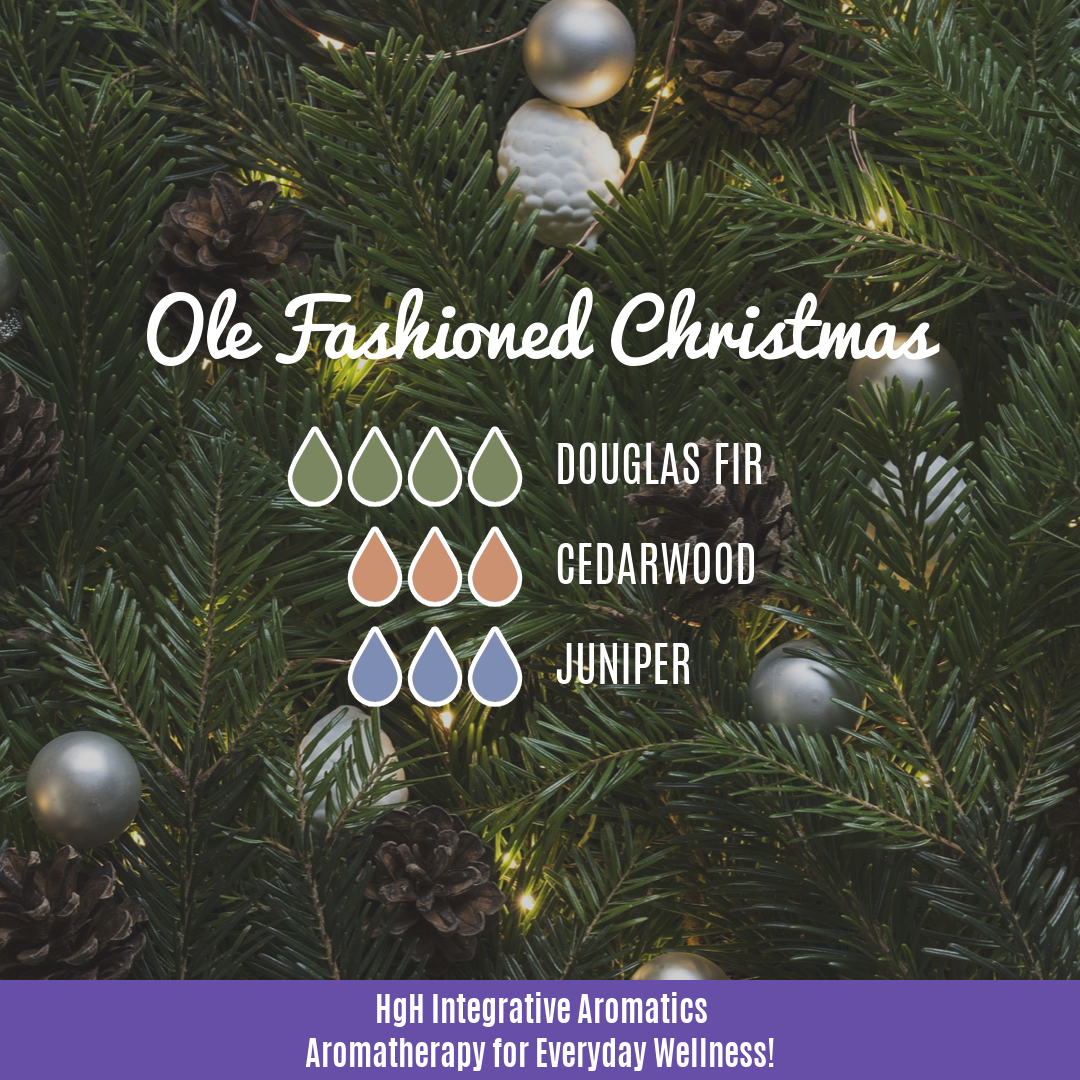
Create a scent-sational holiday atmosphere using a customized and special to you essential oil blend! These aromatherapy blends are beautiful and nostalgic, but also healing and helping! Essential oils evidence based and have been proven to be capable of everything from air purifying, to decongesting, to anti-anxiety, to sleep encouraging, to pain subsiding and more! Place 3-5 drops of your essential oil blend on the dried clay and hang your ornament in the tree. Refresh the oil every 7-10 or as desired based on the strength of the scent!
The Moral of the Story
This year is unlike any other Christmas season we have faced! We are all on tighter budgets, with more frayed nerves, with worries like never before! We have more time and less "go" in our lives! Not only do these diffuser ornaments make a beautiful, cost effective, safe evening spent with the family, they also create an escape through the mindfulness of "doing" with focus as well as through the science of scent!
To learn more about scents of the season, or which oils may help your wellness this holiday - message us!
From our home and the whole HgH Family, we wish you a very safe and Merry Christmas this year!